How to Embed the CarePortals Cart
CarePortals is built with an e-commerce-first mindset, designed to help digital health brands offer a seamless shopping experience that feels modern, fast, and intuitive. Adding a cart to your site makes it easy for patients to browse multiple products, build their order, and check out with confidence.
The CarePortals cart appears as a floating cart icon (typically in your site’s header) and connects directly to your branded patient portal. It automatically matches your portal’s theme, integrates with CarePortals Checkout and payment platforms like Stripe and NMI.
Beyond convenience, the cart also supports cross-selling and upselling opportunities. Whether you want to suggest complementary products or promote subscription upgrades, the cart makes it easy to boost average order value and deliver a more personalized care journey.
Before You Begin
Please have the following information handy to replace the placeholders in the Cart code snippets:
organization_id- Your CarePortals organization ID.productId- The unique ID of the product (e.g,67bca5e6f670a8734cfdf96f). You can find this in CRM > Store Manager > Products.
Step 1: Initialize the Cart
Add the following global script to your website’s header or whenever you’d like to add the cart to. This script initializes the cart for your organization:
<script> window.organization = 'organization_id'; </script> <script src="<https://cart.portals.care/prod/scripts.js>"></script> Pro Tip: By default, the cart generates the checkout URL based on your configured Patient Portal URL. If you’re building a custom checkout experience using CarePortals API, you can override this by adding a custom redirect URL to the initialize script above:
window.carePortalsCheckoutUrl = 'https://'yourdomain.com'/checkout/?cart=:cartId'
Where :cartId will be substituted with the actual cart ID at runtime.
Step 2: Embed the Cart
To embed the cart within your page, include the following div element where you want the cart to appear. This div will act as the container for the cart interface.
<div id="portals-cart-app"></div> Step 3: Configure Add to Cart Buttons
To enable the "Add to Cart" functionality on your site, configure each product button with the correct class and product ID attributes. This ensures CarePortals can identify the product and add it to the cart successfully.
Use the class
add-to-cart-btn product-itemfor the button. This allows the platform’s scripts to detect and bind the click behavior.Add the attribute **
data-product_id="**productId**"**, whereproductIdis the unique ID of the product in CarePortals (e.g,67172a5990f2edc0100af20b). You can find this in CRM > Store Manager > Products.
Tip: This works for both one-time and subscription products. The correct cart behavior will be triggered based on how the product is configured in the Store Manager.
Here’s an example of a correctly configured "Add to Cart" button:
<button class="add-to-cart-btn product-item" data-product_id="productId"> Add to cart </button> To add multiple products to the Cart:
<button type="button" className="add-to-cart-btn product-item" data-products='[ {"productId":"67172a5990f2edc0100af20b","quantity":1}, {"productId":"67482b5650e2edc0100af54c","quantity":1} ]' >
 Add to cart
</button>
Example Integration
Here’s a complete example of how your code might look:
Embed into Framer
You’ll need to wrap the cart in a React Component and place it where you want to display the Cart icon.
Step 1
Follow Framer's instructions on how to create a custom React Component.
Step 2
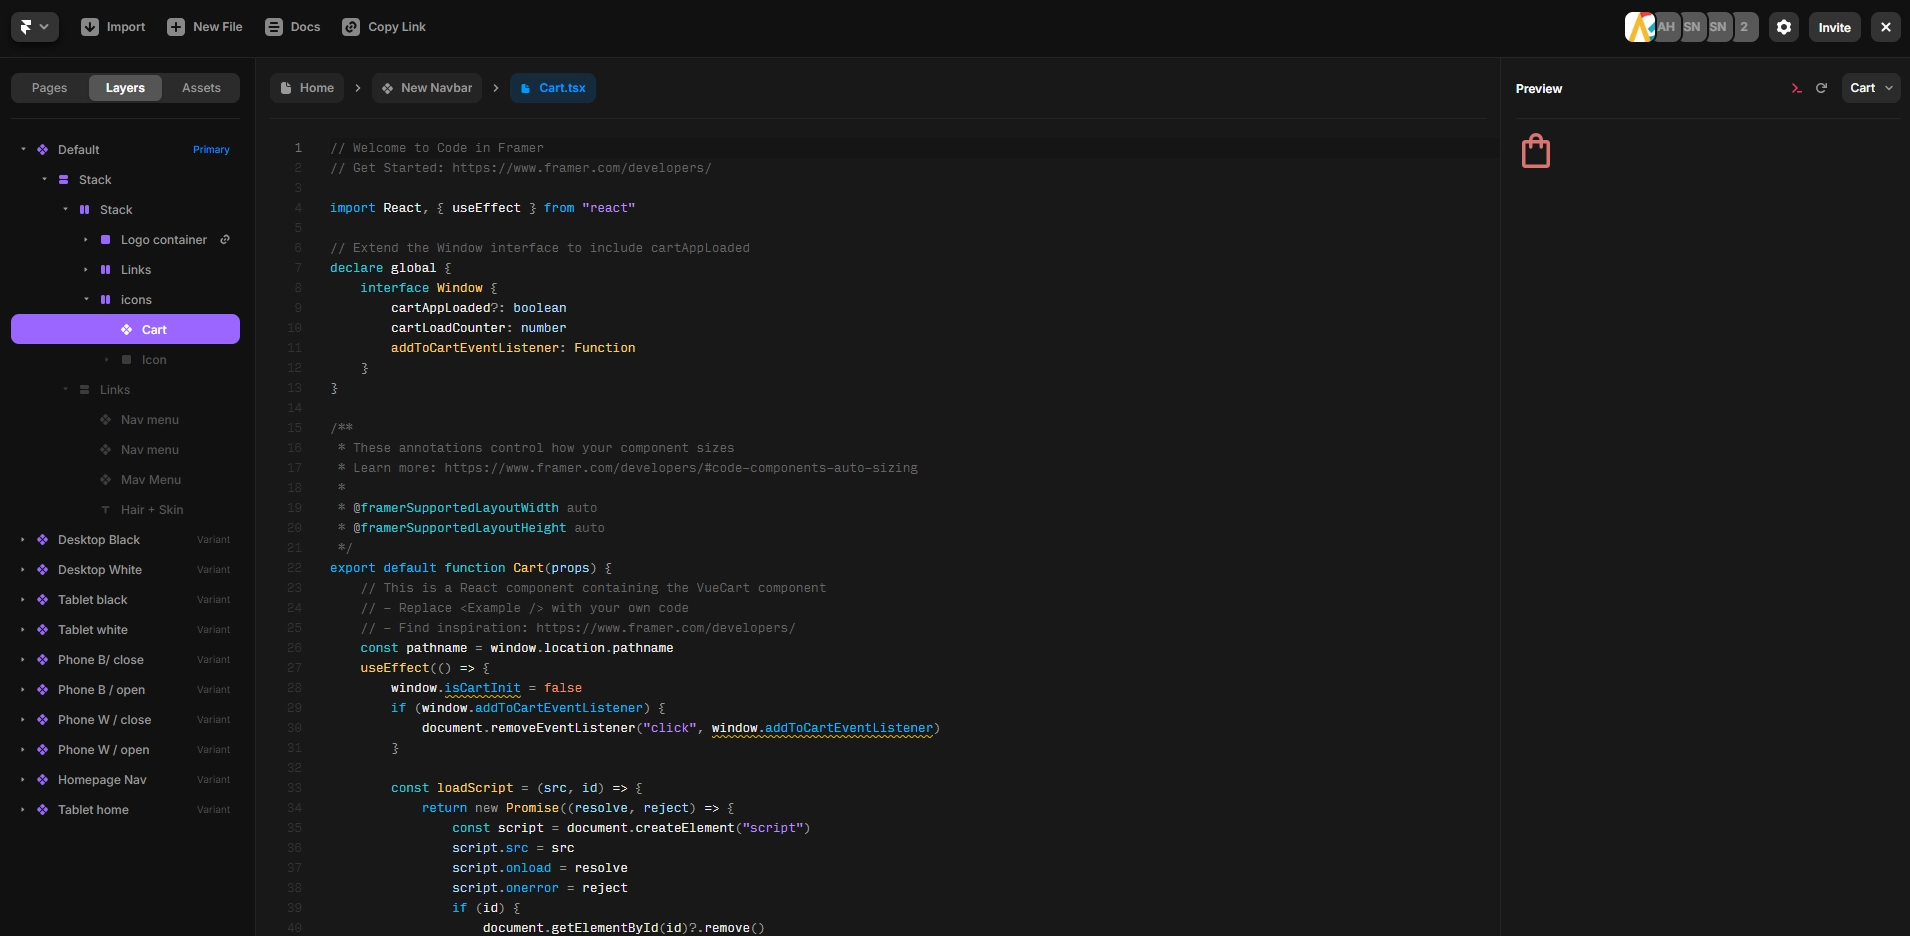
Copy/Paste the following code into your Cart.tsx file
Exampleimport React, { useEffect } from "react"
// Extend the Window interface to include cartAppLoaded
declare global {
interface Window {
cartAppLoaded?: boolean
cartLoadCounter: number
organization: string
addToCartEventListener: any
isCartInit: any
}
}
export default function Cart(props) {
useEffect(() => {
window.isCartInit = false
if (window.addToCartEventListener) {
document.removeEventListener("click", window.addToCartEventListener)
}
const loadScript = (src, id, children = null) => {
return new Promise((resolve, reject) => {
const script = document.createElement("script")
if (src) script.src = src
script.onload = resolve
script.onerror = reject
if (children) script.appendChild(children)
if (id) {
document.getElementById(id)?.remove()
script.id = id
} else {
if (window.cartAppLoaded) {
return
}
}
document.body.appendChild(script)
})
}
const loadStyle = (href, id) => {
return new Promise((resolve, reject) => {
if (!!window.cartAppLoaded) {
return
}
const link = document.createElement("link")
link.rel = "stylesheet"
link.id = id
link.href = href
link.onload = resolve
link.onerror = reject
document.head.appendChild(link)
})
}
const scripts = [
{
src: "https://cart.portals.care/prod/scripts.js",
},
{
children: document.createTextNode(
"window.organization = 'appgen_demo'"
),
},
]
Promise.all(scripts.map((s) => loadScript(s.src, s.id, s?.children)))
.then(() => {
window.cartAppLoaded = true
})
.catch((err) =>
console.error("Error loading Vue cart scripts or styles", err)
)
// }
}, [])
return <div id="portals-cart-app"></div>
}
// Styles are written in object syntax
// Learn more: https://reactjs.org/docs/dom-elements.html#style
const containerStyle = {
height: "100%",
display: "flex",
justifyContent: "center",
alignItems: "center",
overflow: "hidden",
zIndex: "10",
}
Step 3
Add an add-to-cart button to start using the cart and add products.
Example<button class="add-to-cart-btn product-item" data-product_id="productId"> Add to cart </button>Related Articles
Want to learn more? Check out these related articles for deeper setup tips and advanced customizations.
Skip the Cart: Set Up a Buy Now Button for Instant Checkout: Let users skip the cart and checkout instantly.
Patient Portal DataLayer Events: Track patient portal interactions with GTM.
Set up Tracking Scripts: Add scripts to monitor and analyze user activity.